The Ultimate : No-Bake Cherry Cheesecake Recipe
If you’re on the hunt for a dessert that’s quick, easy, and delicious, look no further than this no-bake cherry cheesecake recipe. Whether it’s a party, holiday gathering, or just a simple treat for yourself, this cheesecake delivers creamy goodness without the hassle of baking.
What is a No-Bake Cherry Cheesecake Recipe?
A no-bake cheesecake differs from its baked counterpart in several key ways. Instead of relying on eggs and heat to set the filling, this dessert uses cream cheese and whipped cream to achieve its signature texture. The result? A light, airy, and perfectly creamy dessert that requires only your refrigerator to work its magic.
If you’re curious about the distinctions between baked and no-bake cheesecakes, check out this insightful guide on baked vs. no-bake cheesecakes.
Ingredients for the Perfect : No-Bake Cherry Cheesecake Recipe
To create this luscious dessert, you’ll need just a few simple ingredients. Each plays a vital role in delivering the flavor and texture you love.
For the Crust:
- 2 cups graham cracker crumbs
- 1/2 cup melted butter
- 1/4 cup granulated sugar
For the Filling:
- 16 oz cream cheese, softened to room temperature
- 1 cup powdered sugar
- 1 tsp vanilla extract
- 1 1/2 cups whipped topping (or heavy cream, whipped to stiff peaks)
For the Topping:
- 1 can cherry pie filling
Looking to make your crust from scratch? Learn how to create the perfect homemade graham cracker crust in just a few easy steps.
Step-by-Step Guide to Making the Cheesecake
1. Prepare the Crust
The crust serves as the foundation of your cheesecake. To make it:
- Combine graham cracker crumbs, melted butter, and sugar in a mixing bowl.
- Mix until the texture resembles wet sand.
- Press the mixture firmly into the bottom of a springform pan or pie dish. Ensure it’s packed tightly for a sturdy base.
- Place the crust in the refrigerator to chill while you prepare the filling.
2. Make the Filling
The filling is the heart of any no-bake cheesecake. Follow these steps for a smooth, creamy consistency:
- Beat the softened cream cheese in a large bowl until smooth and free of lumps.
- Add powdered sugar and vanilla extract, mixing well until fully combined.
- Gently fold in the whipped topping or whipped cream to create a light and airy texture.
3. Assemble the Cheesecake
- Pour the cream cheese filling over the chilled crust, smoothing it out with a spatula.
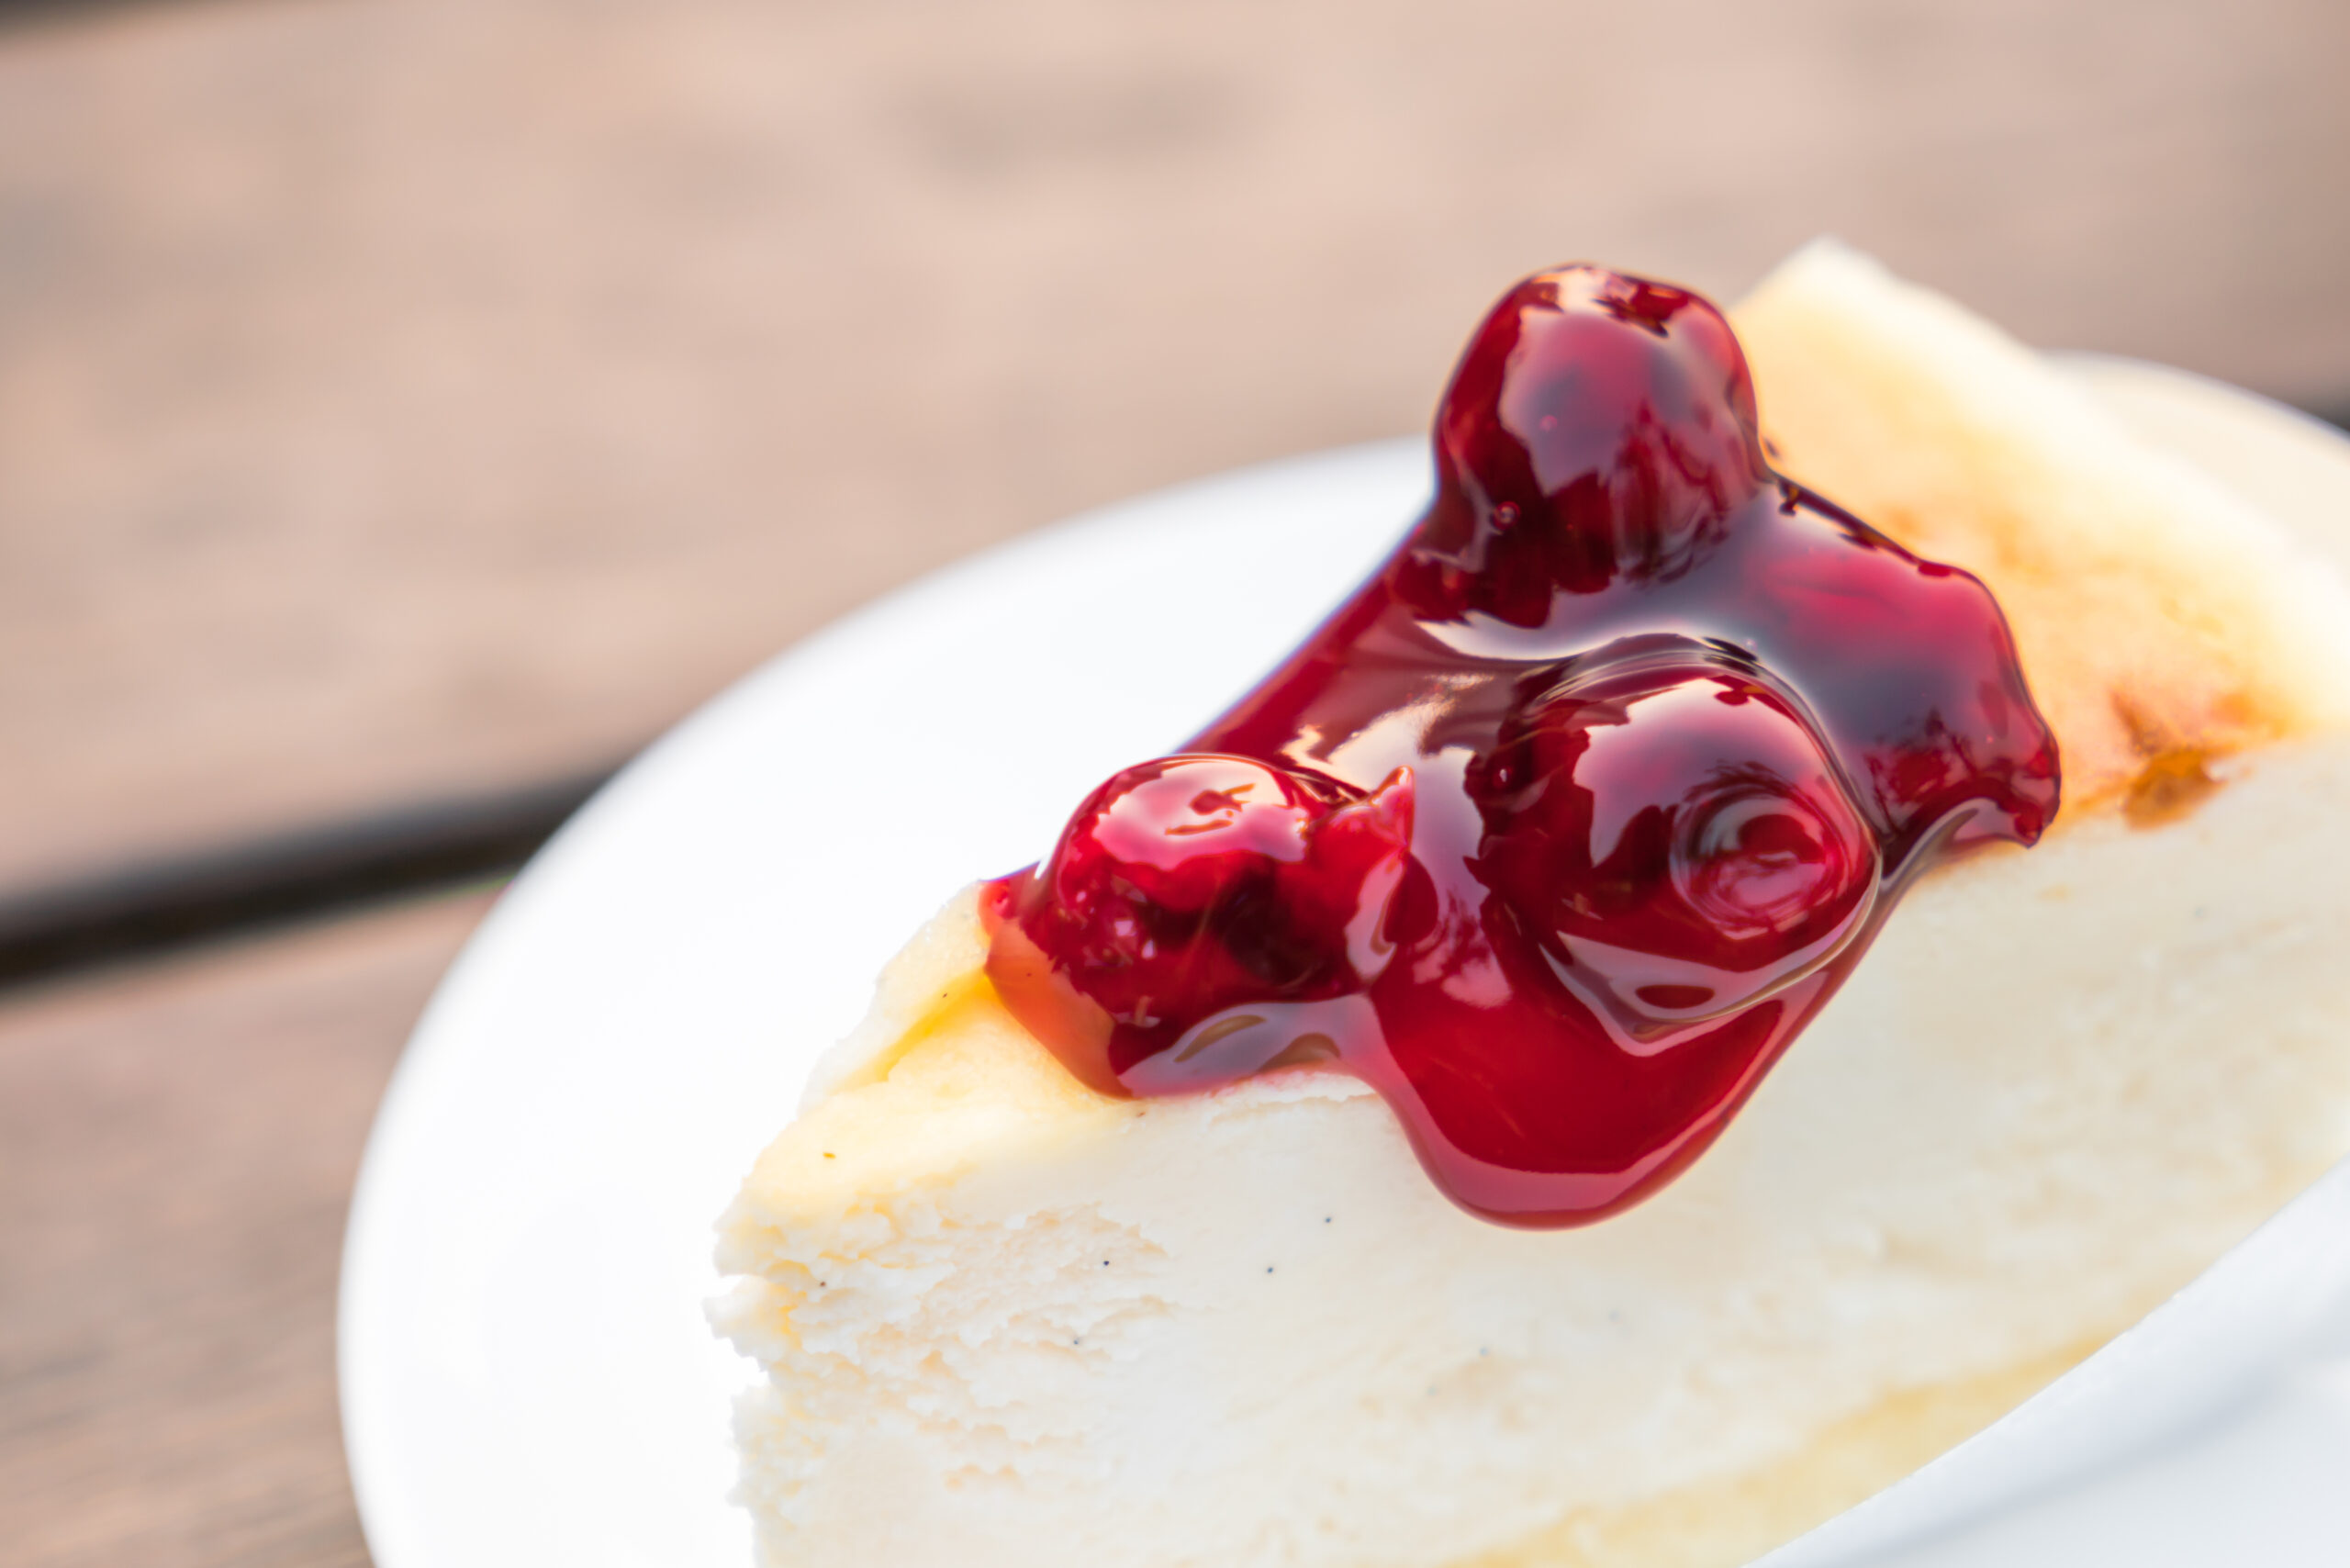
- Spread the cherry pie filling evenly over the top of the cream cheese layer. Be generous—it’s the star of the dessert!
- Cover the pan with plastic wrap and refrigerate for at least 3-4 hours, or until the cheesecake is fully set.
4. Serve and Enjoy
Once set, carefully release the cheesecake from the springform pan. Slice into portions and serve cold. For an extra touch, garnish with whipped cream or fresh mint.
Why No-Bake Cherry Cheesecake is a Crowd Favorite
This dessert stands out for its simplicity and versatility. Whether you’re a seasoned baker or a kitchen novice, this no-bake cheesecake is nearly impossible to mess up. Plus:
- It’s a perfect make-ahead dessert for parties or holidays.
- Its creamy texture and fruity topping appeal to all taste buds.
- You can customize it endlessly with different crusts, fillings, and toppings.
Variations to Try
Crust Alternatives
- Swap the graham crackers for Oreo cookies for a chocolatey twist.
- Use digestive biscuits or gingersnaps for a spiced flavor.
- Opt for a nut-based crust for a gluten-free option.
Filling Enhancements
- Add lemon zest or juice for a refreshing citrus note.
- Mix in mini chocolate chips for added texture.
Topping Ideas
- Replace cherry pie filling with blueberry, strawberry, or raspberry compote.
- Use fresh fruit slices for a lighter, more natural topping.
Serving Suggestions
Elevate your no-bake cherry cheesecake with these creative serving ideas:
- Serve in individual jars for a fun, portable dessert.
- Pair with a cup of espresso or dessert wine for an indulgent experience.
- Top with a dollop of whipped cream and a sprig of fresh mint for an elegant presentation.
Storage and Make-Ahead Tips
- Refrigeration: Keep your cheesecake covered in the refrigerator for up to 5 days.
- Freezing: Slice into portions, wrap tightly in plastic wrap, and freeze for up to 1 month. Thaw in the refrigerator before serving.
- Make-Ahead: Prepare the cheesecake a day in advance to save time and let the flavors meld together.
Frequently Asked Questions (FAQs)
What’s the Difference Between Baked and No-Bake Cheesecake?
A no-bake cheesecake sets in the refrigerator, while a baked cheesecake requires cooking in the oven. The former is lighter and creamier, while the latter has a denser texture. For a deeper dive, explore this helpful comparison guide.
Can I Use Homemade Cherry Topping?
Yes! Making your own cherry topping is simple and adds a personal touch. Combine fresh cherries, sugar, and a splash of lemon juice in a saucepan. Cook until the mixture thickens into a luscious compote.
Can I Make This Recipe Gluten-Free?
Absolutely! Substitute the graham cracker crumbs with gluten-free cookies or a mixture of almond flour and sugar for a gluten-free crust option.
How Can I Ensure My Cheesecake Sets Properly?
The key to a firm, sliceable cheesecake lies in chilling. Be sure to refrigerate the dessert for at least 3-4 hours, preferably overnight, to allow the filling to set completely.
Can I Make This Dairy-Free?
Yes, you can! Use dairy-free cream cheese and whipped topping. Coconut cream also works as a great alternative for a creamy, non-dairy filling.
Final Thoughts
This no-bake cherry cheesecake recipe combines simplicity, versatility, and sheer deliciousness. Whether you stick to the classic recipe or experiment with variations, this dessert is sure to impress. The creamy filling, buttery crust, and vibrant cherry topping create a flavor experience that’s hard to beat.
So grab your ingredients, follow the steps, and enjoy the satisfaction of making (and eating) a dessert that’s as beautiful as it is tasty.
Try it today—you’ll thank yourself with every bite!


